Once upon a time, I wanted to learn to make bread. Naan, soft pretzels, baguette, simple dinner rolls; the things I tried making usually turned out tough and, while good when warm, not so good the next day. Then I made this crescent roll recipe, and the world was beautiful. They were airy, soft, and turned out the first time. I froze them to eat over the next few weeks and they were delicious once thawed again--food you can freeze is a college student's dream.
I don't have a bread maker or a Kitchenaid, so if you don't either, you can still do it. Take chances and be creative!
For this crescent roll recipe, as with any bread recipe, you want to set aside your yeast in warm water immediately so it will be frothy by the time you need to add it. For this recipe, you'll put 2 T of yeast in 1/2 cup of warm water. (Usually a yeast mixture is just water and yeast, though sometimes a recipe will tell you to add sugar.)
Start by putting 1 cup milk and 1/2 cup butter in the microwave--heat it up until the butter is melted.
Transfer this to a mixing bowl and add 3 beaten eggs (see below) (I whisked mine in a bowl with a fork). To the mixture you'll want to add 1/2 cup sugar and 1 teaspoon of salt.
To this, add the yeast mixture that should be bubbly by now.
Now you want to start adding your flour. This is the hardest part to get the hang of when making bread by hand. If you dump in all the flour the recipe calls for, it may be too much. I've made a lot of crappy bread this way. Instead, I usually add half of the flour the recipe calls for, mixing it in well. After this, I add half cups of flour at a time until I find the right amount.
This is what the dough looked like after I had added two cups of flour:
Still pretty soupy, but good and bubbly. I continued to add flour a little bit at a time until the dough started to naturally form a ball, pulling away from the sides. (If you're doing this in a Kitchenaid with a dough hook, it will do the same--pull away from the sides and form a ball on the hook.)
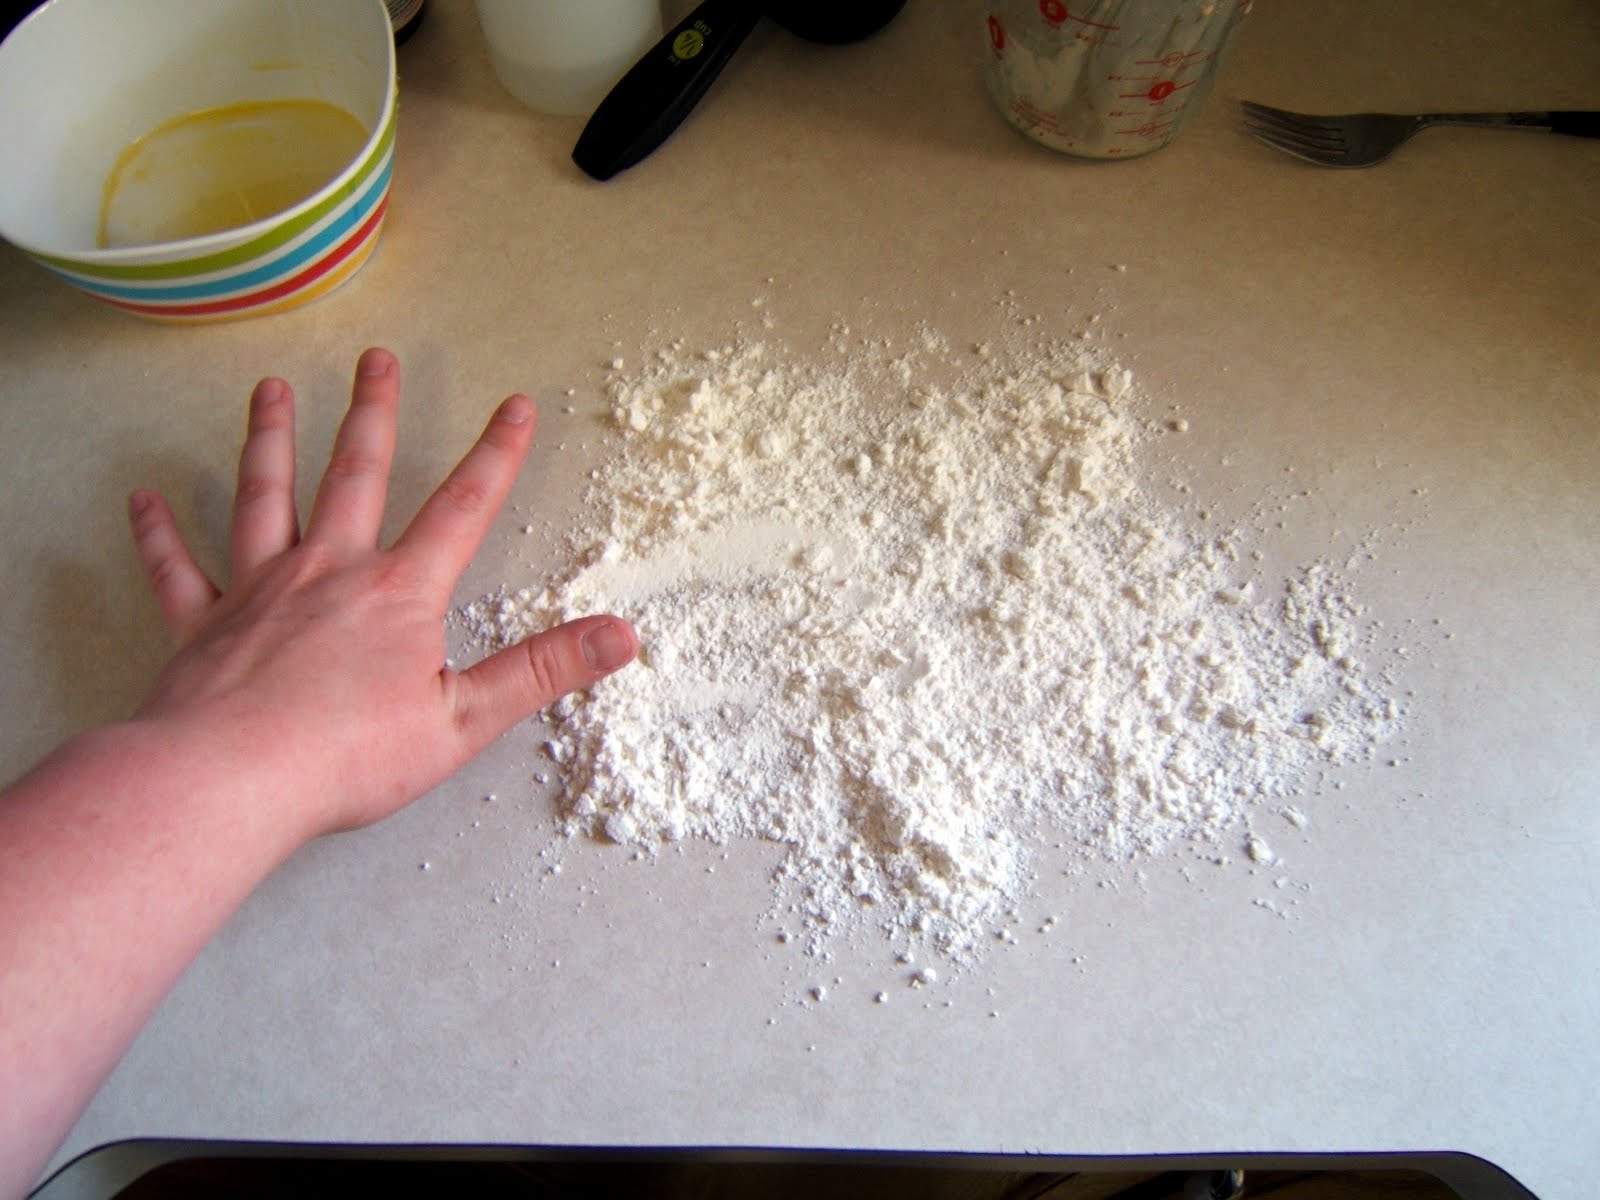
Once the dough starts to do this, you want to pull it out of the bowl and start to knead it. There will not be enough flour in the dough, it will be very sticky. You want to start out with a lot of flour on the counter (see below) because you're still adding flour to the dough by kneading it in.
Dump the dough out of the bowl onto the flour. I also add flour on the top and try to coat the outside with a thin layer of flour so I can work with it. It may still be sticky, but as long your hands, the counter, and the outside of the dough ball are floured, you can work with it.
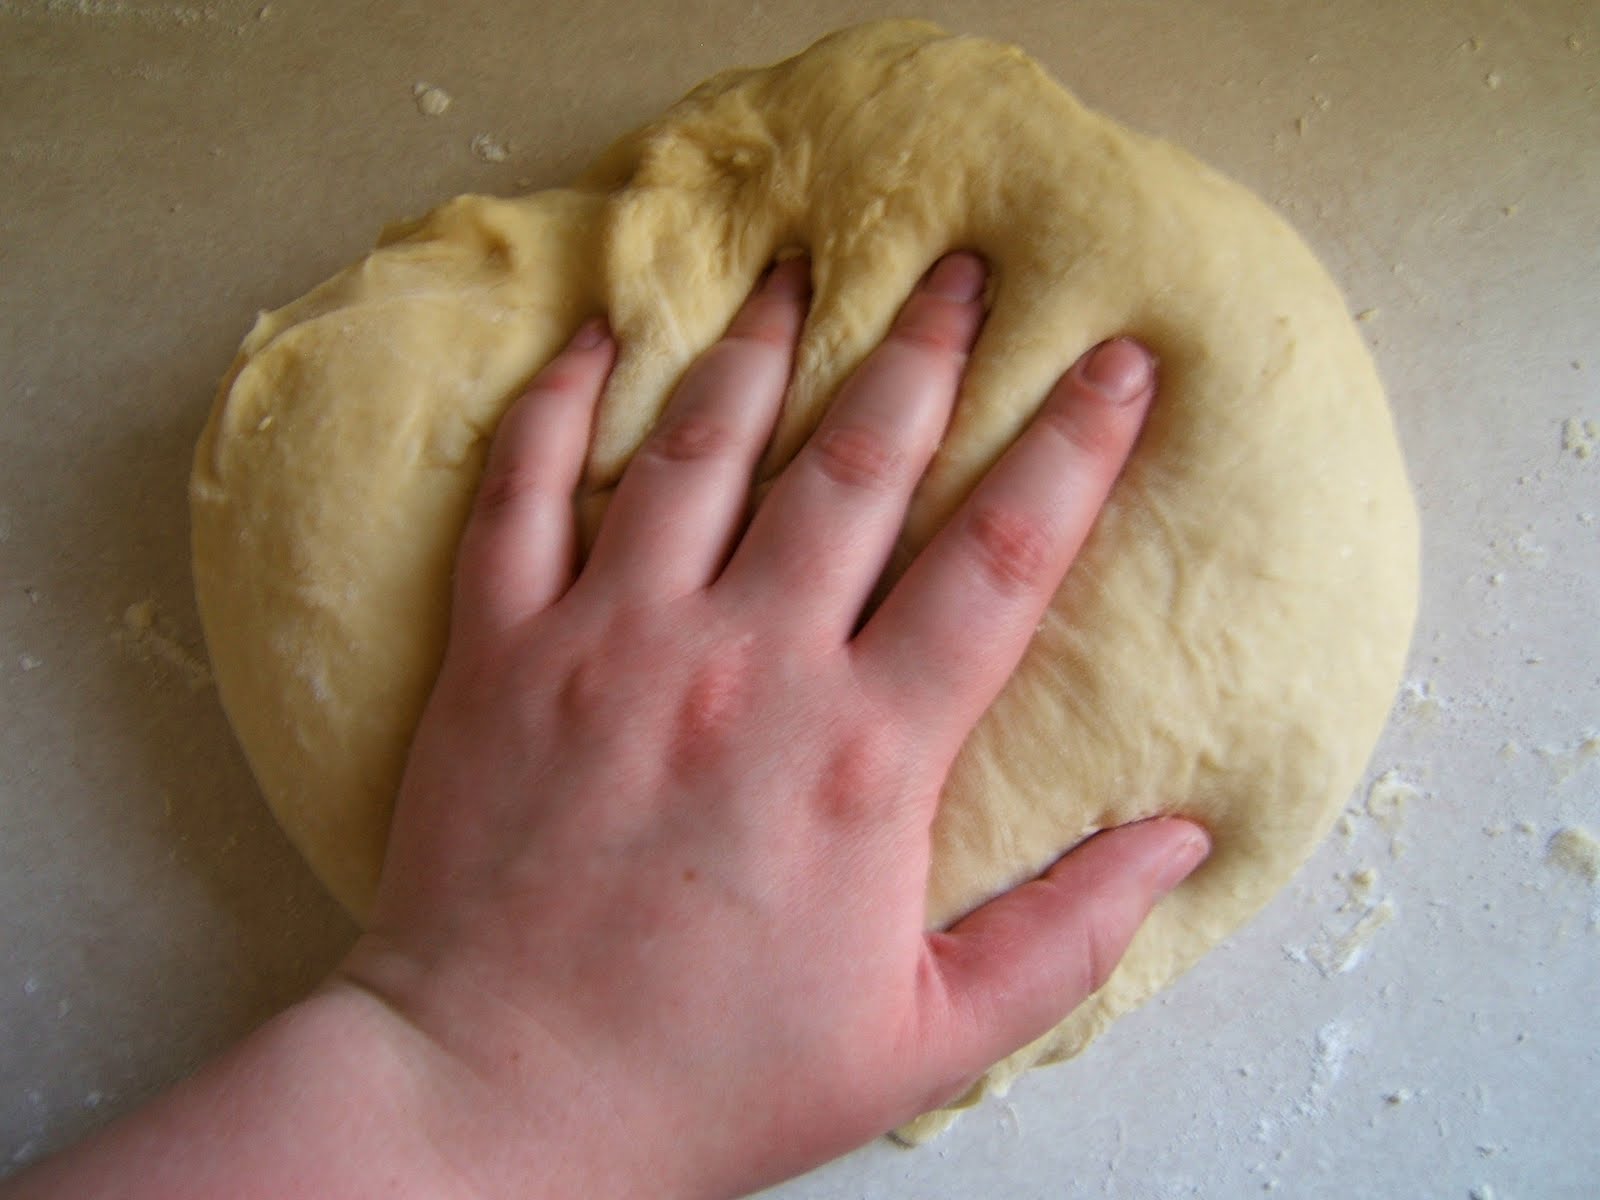
If you're unsure of how to knead dough, look up a quick tutorial online. The basic idea is to fold the dough over on itself and continue to work it until it's malleable and smooth. Kneading is important for further activating the yeast and making the final texture of the bread the right one.
Your dough should be soft and shouldn't crack or rip when you knead it. If it does, you've added too much flour, or it isn't mixed well enough.
When you have kneaded all of the flour into the dough, you will need to add more if it's still too sticky.
This is what you want to avoid, the dough sticking to the counter (or your hands):
Add more flour as needed to prevent this from happening. I usually add mine right under the dough and knead the dough onto it.
Another oops:
Any dough recipe will recommend a kneading time, but you should adjust it as needed. You will know your dough has enough flour in it when you can knead it without it sticking to the counter. It may still be (and should still be) a little sticky, but not so much that it sticks like the pictures above. It should bounce back like one of those foam mattresses they have the infomercials for. Once it has enough flour, I usually knead it for five to ten more minutes for good measure.
When your dough is ready and well kneaded, you want to form it into a ball. You can do this by tucking the dough in on itself.
There will be uglies on the bottom (below; these will smooth out when the dough rises like a balloon smoothes out when you blow air into it), but there should be a nice dome on top (above).
When I set my dough aside to rise, I usually put it right back into the bowl I mixed it in. I don't even scrape it out or anything; just spray it well with Pam and plop the dough in, dome side up.
Spray the top of the dough ball with Pam as well, and cover it with a hand towel so the dough can rise without becoming hard or crusty.
When you let dough rise, the rule of thumb is that it should be at least double from its original size. A good starting point is one hour, but I've last time I made this recipe, I let them rise for two and a half hours because I left the house and went to dinner. If your dough isn't rising, it may need to be in a warmer place. Set it aside, though, set a timer and you're free to go off and do something else.
When the dough is doubled in size, drop it onto a floured or greased surface. I spray my counter with Pam before I roll it out. If you halved the recipe, you'll have one circle to roll out; if you made the full recipe, you'll have to divide the dough in two and roll out both pieces.
(Glamorous college life: large cup as a rolling pin.)
Once you've rolled out the dough (it should be a centimeter thick), spread the entire thing with a thin layer of butter. Use a pizza cutter to slice the dough as you would a pizza; how many slices you have will affect how large your end rolls are, as well as how long you'll have to bake them for. I'd recommend 16 slices the first time--it will make a pretty standard sized crescent roll.
Roll each piece from the outside toward the inside to give it that crescent roll look.
As you can see, one batch will make plenty of rolls. Make sure not to crowd them, because after you form and place them, you'll let them rise again for an hour. Cover them and let them double in size. I learned the hard way that you shouldn't touch the rolls after they've risen for that extra hour in their form, because moving them after they've risen will literally deflate them. Place them and let them rise how you want to bake them.
These rolls are wonderful. I put mine in ziplock bags and place them in the freezer as soon as they're cool enough. When they thaw, it's just as if they're fresh.
You won't regret trying these!


No comments:
Post a Comment